Reverse facing car seats are not a trend or a social-media preference. They are a core part of child passenger safety because they support a young child's head, neck, and spine during a crash. The basic rule is straightforward: keep a child rear-facing for as long as the seat's height and weight limits allow, then move to a forward-facing harness seat.
The details matter more than the label on the box. A seat can be expensive, heavily reviewed, and still be installed at the wrong angle or secured with loose harness straps. Here's what we know — and here's what we don't: no car seat eliminates injury risk, but correct selection and installation can substantially improve protection.
Why rear-facing protection matters
In a frontal collision, a rear-facing shell moves with the child's body and spreads crash forces across the back of the seat. That is especially important for infants and toddlers, whose heads are proportionally heavier and whose necks are still developing. A forward-facing harness restrains the torso, but the head continues moving forward before the harness and tether stop the body.
The American Academy of Pediatrics and the National Highway Traffic Safety Administration both support keeping children rear-facing until they reach the maximum height or weight allowed by their seat. That does not mean every child must remain in an infant carrier. Convertible seats let parents start rear-facing and later turn the seat forward-facing without buying another complete seat.
Do not use legroom as the deciding factor. Children commonly sit with bent legs, crossed legs, or feet resting against the vehicle seat. Those positions are generally less concerning than moving a child forward-facing too soon. The actual limits printed on the seat label and manual are the controlling details.
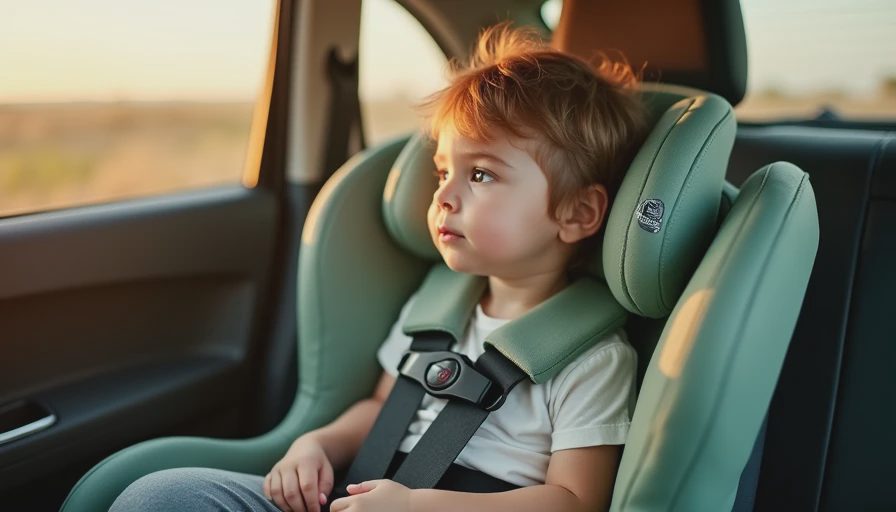
Choosing reverse facing car seats for your vehicle
When comparing reverse facing car seats, start with fit rather than brand reputation. The seat must sit securely on the vehicle seat, leave enough room for the front passenger, and allow the vehicle's doors, belts, and airbags to function normally. A compact sedan may require a different model than a three-row SUV with deeply contoured cushions.
Infant seats usually attach to a removable base and are convenient for carrying a sleeping baby. Convertible seats stay in the vehicle but typically offer higher rear-facing limits, sometimes allowing a child to remain in this position well into the toddler years. All-in-one seats combine several stages, but their larger size can make installation difficult in a narrow back seat.
Check the seat's expiration date, harness height, rear-facing weight range, and recline requirements before purchasing. Used seats require extra caution. Missing instructions, unknown crash history, recalled parts, or a damaged shell are reasons to pass. The National Highway Traffic Safety Administration maintains a searchable recall database, and manufacturers publish model-specific instructions that should be kept with the seat.
Installing the seat without guesswork
Reverse facing car seats work as designed only when they are installed tightly and at the correct recline angle. Read the vehicle owner's manual first. It identifies approved seating positions, lower-anchor locations, airbag warnings, and any restrictions on using a seat belt or lower anchors. Then read the car seat manual, because installation methods differ by model.
Place the seat in an approved rear seating position and set the recline indicator for the child's size and the vehicle's floor angle. Use either the lower anchors or the vehicle seat belt unless both manuals specifically allow another arrangement. Do not use lower anchors and the seat belt together simply because two systems sound safer; many manufacturers prohibit that combination.
After tightening, hold the seat at the belt path and test it. It should move less than one inch from side to side or front to back. The harness should lie flat, with the chest clip at armpit level and straps snug enough that you cannot pinch slack at the shoulder. Bulky coats should come off before harnessing; use a blanket over the secured straps instead.
A certified child passenger safety technician can inspect the setup at a community event, hospital, fire station, or local safety organization. Availability varies, but an inspection is often the fastest way to catch a recline, belt-routing, or harness problem that is difficult to spot in a driveway.

When to turn a child forward-facing
The move should happen when the child exceeds the rear-facing height or weight limit, not simply when the child reaches a certain birthday. Seat limits vary, so compare the manual with the child's current measurements. If the top of the head is too close to the shell's allowed boundary, or the shoulders no longer fit within the approved harness range, it is time to review the next stage.
Once a child is forward-facing, use the harness and top tether every trip. The tether limits forward movement and is not optional decoration. Later, when the child has outgrown the forward-facing harness, a booster positions the vehicle belt across the strongest parts of the body. A seat belt alone should fit low across the hips and touch the middle of the chest, not the stomach or neck.
Parents sometimes worry when a child's legs touch the vehicle seatback. That alone is not a reason to turn the seat around. Watch for the manufacturer's stated limits, proper harness fit, and signs of discomfort or physical interference. If the child cannot remain properly positioned, ask a technician or pediatric professional for practical guidance.
Crash replacement and insurance questions
Reverse facing car seats involved in a moderate or severe crash should generally be replaced, even when there is no visible damage. Some manufacturers also recommend replacement after a minor crash, while others define specific exceptions. Follow the seat maker's instructions and contact the manufacturer when the collision circumstances are unclear.
Auto insurance often pays for a child seat replacement after a covered crash, but the process depends on the policy, state rules, and the insurer's claims handling. Keep the receipt, model number, manufacture date, and photographs of the seat. Progressive, GEICO, State Farm, and other major insurers handle claims under their own policy language, so ask the adjuster whether replacement is covered before discarding the seat when it is safe to retain it temporarily.
The replacement question is separate from liability coverage. Liability insurance pays for damage or injuries a policyholder causes to others, while collision coverage generally addresses damage to the insured vehicle. A child seat reimbursement provision, if available, can be written into the policy or handled as part of a qualifying claim. Do not assume a replacement is included without reviewing the declarations page or asking directly.
A practical pre-trip check
Before leaving the driveway, confirm that the seat is in an approved position, the recline indicator is correct, and the base or shell moves less than one inch at the belt path. Check that the harness straps are flat and snug, the chest clip is level with the armpits, and no thick winter clothing sits beneath the straps.
Also inspect the vehicle's back seat for loose objects that could become projectiles. Make sure every passenger has an appropriate restraint and that nobody places a child seat in front of an active passenger airbag. If the vehicle changes, repeat the installation check; a seat that fit securely in a Honda CR-V may not fit the same way in a Ford Escape or a compact pickup.
Reverse facing car seats deliver their intended protection only when the equipment, vehicle, and child all match. Take the extra ten minutes to read both manuals, verify the limits, and get an inspection when needed. That is less glamorous than shopping for accessories, but it is the part that matters when the road turns ugly.


Travellers Write
No letters yet — be the first traveller to write.